Mastering the Craft: The Ultimate Guide to DIY Soy Milk and Creamy Homemade Yogurt
Learn how to make soy yogurt at home from scratch, starting with the purest soy milk, to achieve professional-grade results in your own kitchen.
Table of Contents
- 1. The Benefits of Homemade Soy-Based Dairy
- 2. Sourcing the Gold Standard: Selecting Your Soybeans
- 3. The Foundation: Crafting Silk-Smooth Soy Milk
- 4. The Science of Soy Yogurt Fermentation
- 5. Essential Equipment for Successful Incubation
- 6. Step-by-Step: How to Make Soy Yogurt at Home
- 7. Troubleshooting Common Texture and Flavor Issues
- 8. Frequently Asked Questions (FAQ)
1. The Benefits of Homemade Soy-Based Dairy
In an era where processed foods dominate the supermarket shelves, the resurgence of traditional food preparation methods offers more than just a culinary hobby. Learning how to make soy yogurt at home allows you to take full control over your nutritional intake. Commercial plant-based yogurts are often laden with thickeners like carrageenan, excessive cane sugar, and synthetic preservatives that can disrupt gut health. By crafting your own, you ensure a high-protein, zero-additive product that aligns perfectly with a clean-label lifestyle.
Soybeans are unique among plant-based alternatives due to their complete protein profile, containing all nine essential amino acids. When fermented into yogurt, these proteins become even more bioavailable, and the addition of live cultures transforms the milk into a probiotic powerhouse. Furthermore, the economic advantage is staggering; a single bag of organic soybeans can produce gallons of milk and dozens of batches of yogurt for a fraction of the cost of store-bought equivalents.
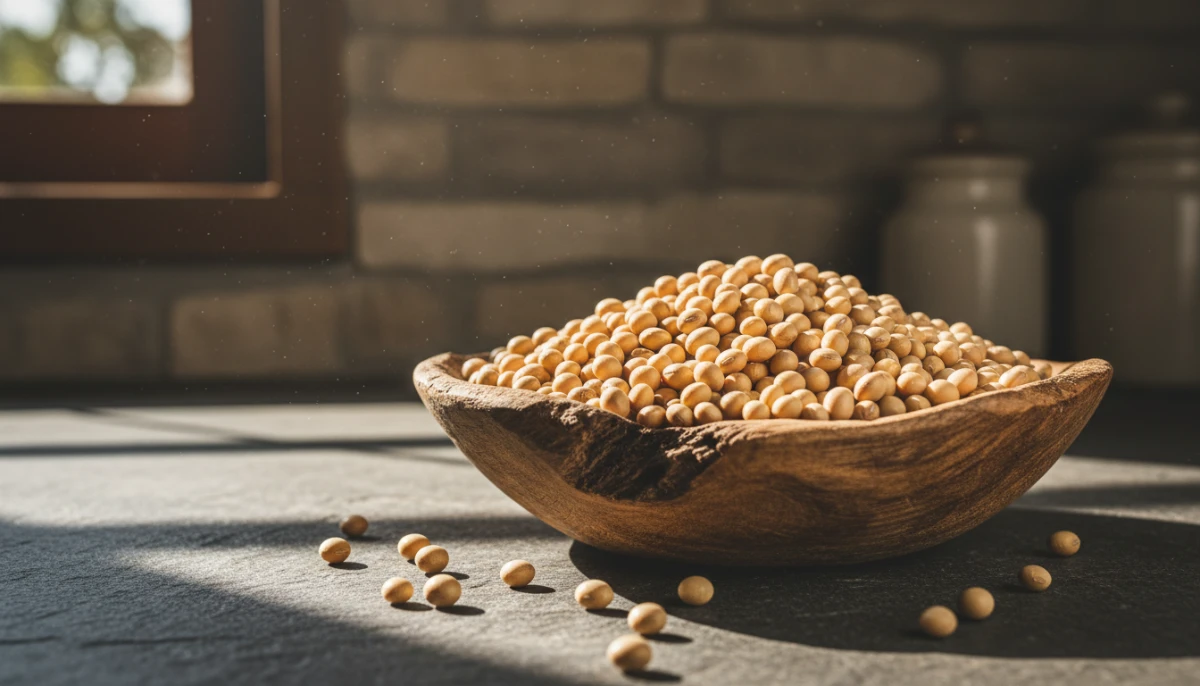
2. Sourcing the Gold Standard: Selecting Your Soybeans
The quality of your yogurt is directly proportional to the quality of your beans. For a creamy, mild-tasting soy milk that serves as the perfect base for fermentation, you should seek out ‘Clear-Hilum’ soybeans. These are specifically bred for soy milk and tofu production, as they lack the dark ‘eye’ or hilum that can discolor the finished product. Organic, non-GMO varieties are highly recommended to avoid pesticide residues and to support sustainable agricultural practices.
Freshness and Storage
Soybeans are legumes that contain oils which can go rancid over time. Always check the harvest date if possible and store your dried beans in a cool, dark place in an airtight container. Fresh beans will hydrate more evenly and yield a sweeter, less ‘beany’ flavor profile, which is critical when learning how to make soy yogurt at home that actually tastes like a dairy-equivalent.
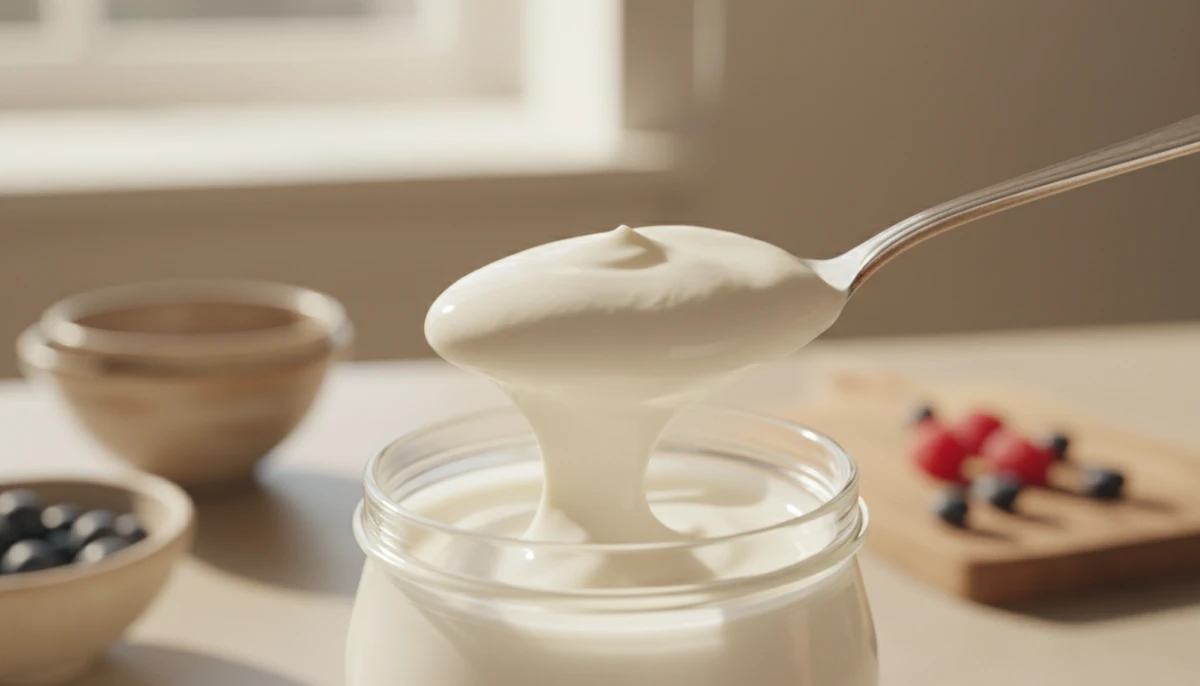
3. The Foundation: Crafting Silk-Smooth Soy Milk
Before you can ferment, you must extract. Making soy milk is a three-stage process: hydration, pulverization, and thermal processing. Each stage is vital for removing anti-nutrients like phytic acid and ensuring the proteins are ready to coagulate.
Step 1: Cleaning and Soaking
Rinse 1 cup of dry soybeans thoroughly. Soak them in 3-4 cups of filtered water for at least 8 to 12 hours. During this time, the beans will double in size and the enzymes will begin to activate. In warmer climates, soak them in the refrigerator to prevent unwanted bacterial growth.
Step 2: Grinding for Maximum Extraction
Drain and rinse the soaked beans. Blend them with 5-6 cups of fresh filtered water in a high-speed blender until the mixture is completely smooth and frothy. The goal is to break down the cellular structure of the bean to release the maximum amount of protein and fats into the water.
Step 3: The Boiling and Straining Process
Pour the slurry into a large pot and bring to a slow boil. You must stir constantly, as soy milk burns easily on the bottom of the pan. Simmer for 20 minutes to deactivate the trypsin inhibitors found in raw soy. Once cooked, strain the mixture through a fine nut milk bag. The resulting liquid is your ‘heavy’ soy milk, perfect for yogurt making, while the leftover pulp (okara) can be used in baking or composted.

4. The Science of Soy Yogurt Fermentation
Yogurt is the result of a symbiotic relationship between thermophilic bacteria and plant proteins. When we discuss how to make soy yogurt at home, we are essentially discussing how to manage a biological environment. The primary bacteria used are Lactobacillus bulgaricus and Streptococcus thermophilus.
These bacteria consume the natural sugars in the soy milk and convert them into lactic acid. This process increases the acidity (lowers the pH) of the milk. As the milk becomes more acidic, the soy proteins (glycinin and beta-conglycinin) begin to denature and cross-link, forming a semi-solid matrix. This is what creates the thick, spoonable texture we associate with yogurt. Unlike dairy milk, soy milk has less lactose (sugars), so some practitioners add a teaspoon of sugar or maple syrup to ‘feed’ the bacteria, though this is often unnecessary with high-protein soy milk.
5. Essential Equipment for Successful Incubation
To maintain the precise temperature required for fermentation (typically between 108°F and 115°F), you need a stable heat source. The most common tools include:
- Instant Pot / Multi-Cooker: Many modern models have a dedicated ‘Yogurt’ function that automates the temperature control.
- Electric Yogurt Maker: These come with individual jars and provide a consistent low heat.
- Sous Vide Immersion Circulator: The most precise method, allowing for temperature control within 0.1 degrees.
- Dehydrator: If it has a low-temperature setting, it can house several jars of fermenting yogurt.
- Oven with Pilot Light: A traditional method, though less reliable in modern, well-insulated ovens.
6. Step-by-Step: How to Make Soy Yogurt at Home
Phase 1: Preparation and Sterilization
Ensure all jars, spoons, and pots are sterilized with boiling water. Contamination is the number one cause of batch failure. Any stray bacteria can compete with your yogurt starter and lead to spoilage.
Phase 2: Temperature Calibration
Heat your homemade soy milk to 180°F (82°C) to further denature the proteins, then let it cool down to 110°F (43°C). This ‘cool down’ phase is critical; if you add the starter while the milk is too hot, you will kill the live cultures. Use a digital thermometer for accuracy.
Phase 3: Inoculation
Add your starter. This can be 2 tablespoons of a previous batch of soy yogurt, a commercial vegan yogurt starter packet, or the powder from two high-quality probiotic capsules. Whisk gently but thoroughly to distribute the bacteria evenly.
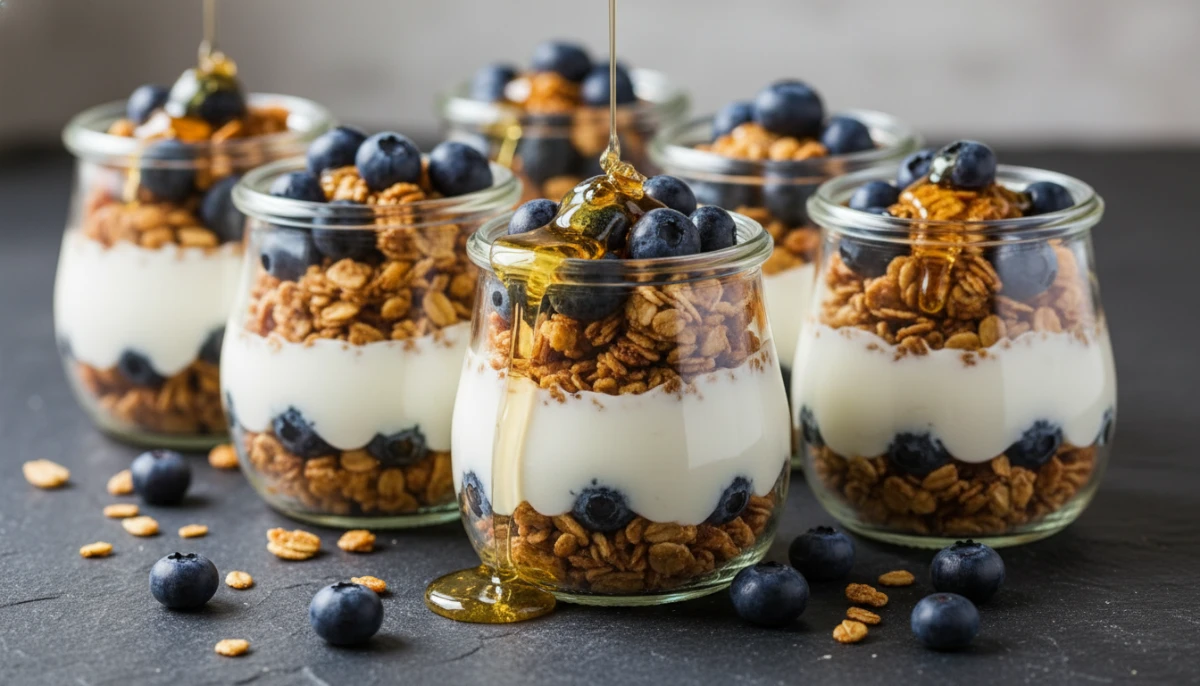
Phase 4: Incubation
Place the mixture into your chosen heat source. Let it ferment undisturbed for 8 to 12 hours. The longer it ferments, the more tart and firm it will become. Avoid moving or shaking the jars during this time, as it can break the protein bonds and lead to a runny consistency.
7. Troubleshooting Common Texture and Flavor Issues
Even experts occasionally face a batch that doesn’t set. Here is how to diagnose and fix common problems encountered when learning how to make soy yogurt at home:
Why is my yogurt runny?
This is usually caused by milk that is too thin (too much water used during the soy milk process) or an incubation temperature that was too low. To fix a runny batch, you can strain it through cheesecloth for 4 hours to create a ‘Greek-style’ soy yogurt, which concentrates the solids.
Why does it taste bitter or ‘beany’?
A bitter taste often comes from undercooking the soy milk or using old beans. To mitigate the beany flavor, ensure you boil the milk for the full 20 minutes. Adding a pinch of salt or a drop of vanilla extract before fermentation can also help round out the flavor profile.
Separation (Whey and Curd)
If your yogurt looks like it has liquid on top and clumps on the bottom, it likely over-fermented or the temperature was too high. It is still safe to eat; simply whisk it back together or strain the liquid (soy whey) for use in smoothies.
8. Frequently Asked Questions (FAQ)
Can I use store-bought soy milk to make yogurt?
Yes, but it must be ‘clean.’ Look for brands that only contain soybeans and water. Avoid those with oils, gums, or preservatives, as these ingredients can interfere with the fermentation process and prevent the yogurt from setting.
How long does homemade soy yogurt last?
When kept in an airtight container in the refrigerator, it will stay fresh for 7 to 10 days. Always use a clean spoon to scoop it out to prevent introducing bacteria that could shorten its shelf life.
Do I need a special starter for vegan yogurt?
You need a starter that contains live cultures. While you can use dairy yogurt as a starter, for a truly vegan product, use a commercial vegan starter or high-quality probiotic capsules that are labeled as dairy-free.