Homegrown soy and edamame in NZ requires planting seeds in late spring once soil temperatures consistently reach 15°C (59°F). These nitrogen-fixing legumes thrive in sunny, well-draining spots across New Zealand, generally taking 75–90 days to reach the green pod stage (edamame) or 100+ days for fully mature dry soybeans.
Growing your own edamame is rapidly becoming a favorite pastime for New Zealand gardeners. Once considered an exotic crop found only in frozen food aisles or Japanese restaurants, soybeans (Glycine max) have proven to be remarkably adaptable to the Kiwi climate. Whether you are in the subtropical Northland or the cooler regions of Otago, success lies in understanding the specific requirements of this legume.
Unlike standard bush beans, soybeans require a slightly longer growing season and specific soil biology to truly thrive. However, the reward is substantial: a high-protein, nutrient-dense superfood that tastes significantly sweeter and more tender when harvested fresh from the garden than anything you can buy commercially. This guide covers every aspect of cultivating homegrown soy and edamame in NZ, ensuring a bumper crop.
Understanding the Plant: Soy vs. Edamame
Before breaking ground, it is essential to clarify the terminology, as it often confuses novice gardeners. “Soybean” and “Edamame” are not two different species of plants; they are the same plant harvested at different stages of maturity.
- Edamame: This refers to the immature, green stage of the soybean. At this phase, the beans inside the pod are fully formed and plump, but the pod itself is still green, hairy, and tender. This is the stage most home gardeners target for snacking.
- Soybeans: If left on the plant, the pods will eventually dry out, turn brown, and become hard. These are harvested as dry soybeans, which are used for making soy milk, tofu, tempeh, or kept as seed stock for the following year.
While any soybean variety can technically be eaten as edamame, specific varieties have been bred to have larger beans, a sweeter flavor profile, and a more pleasing texture for fresh eating. When browsing NZ seed catalogues, look for varieties explicitly labeled as “edamame” or “vegetable soybean” rather than grain soy, which can be tougher and starchier.
New Zealand Climate and Timing
Soybeans are warm-season crops that are extremely sensitive to frost. In New Zealand, the planting window is relatively narrow compared to other legumes, and timing is dictated heavily by your region’s frost dates and soil temperature.
North Island Strategy
In the North Island, particularly north of Taupo, you have a longer growing window. You can typically begin sowing directly outdoors from late October through to December. The goal is to ensure the soil has warmed up. Planting too early in cold, wet soil will cause the large seeds to rot before they germinate.
South Island Strategy
For South Island gardeners, patience is a virtue. Sowing is best delayed until mid-to-late November or even early December. Because soybeans require a long season (up to 100 days for dry beans), varieties with shorter maturity dates (like ‘Fiskeby V’) are highly recommended for southern regions to ensure harvest before the early autumn frosts arrive.
Regardless of location, the soil temperature must be at least 15°C. If you are eager to start early, you can start seeds indoors in root trainers (toilet roll tubes work well) 2-3 weeks before your last frost date. However, soybeans have sensitive taproots and do not like being disturbed, so direct sowing is generally preferred.
Soil Preparation and Site Selection
Soybeans require a position in full sun. They are photoperiod sensitive, meaning their flowering is triggered by the length of the day, so ensure they are not shaded by trees or buildings during the height of summer. They prefer a sheltered spot, as strong winds can damage the brittle stems once they are laden with pods.
Soil Chemistry
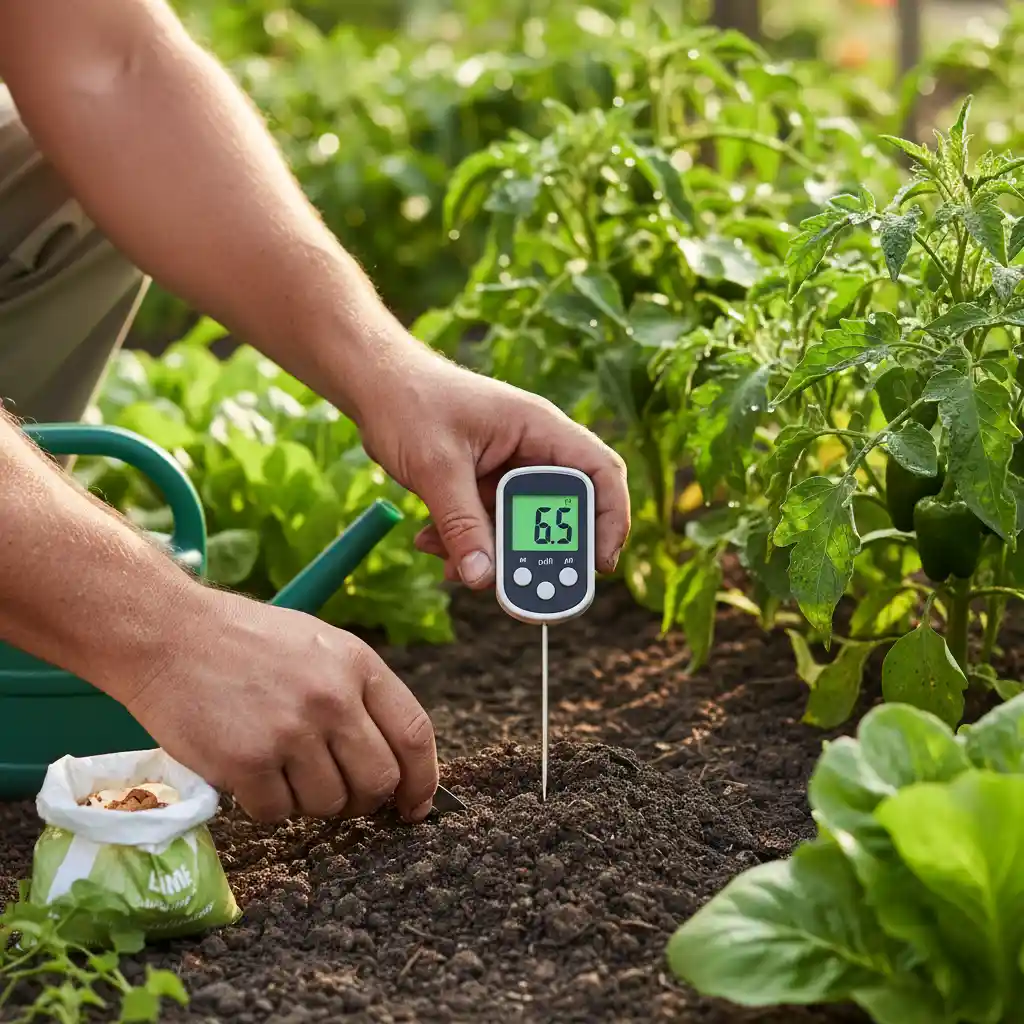
The ideal soil pH for homegrown soy and edamame in NZ is between 6.0 and 6.8. If your soil is too acidic (common in many NZ clay soils), the plant’s ability to fix nitrogen is compromised. A dressing of garden lime a few weeks before planting can rectify this.
Drainage is non-negotiable. While soybeans need regular water, they cannot tolerate “wet feet.” If you are gardening on heavy clay, consider planting in raised beds or mounding the soil up into ridges to improve drainage.
Sowing Seeds: The Art of Inoculation
This is the secret to professional-grade soybeans. Legumes have a symbiotic relationship with soil bacteria called Rhizobia. These bacteria colonize the roots of the plant, forming nodules that pull nitrogen from the air and convert it into a form the plant can use. This process is called nitrogen fixation.
However, the specific bacteria required for soybeans (Bradyrhizobium japonicum) is not native to New Zealand soil. If you plant soybeans in a patch of earth where they have never grown before, they may grow, but they will likely be stunted and yellow due to nitrogen deficiency.
To ensure success, you should purchase a soybean inoculant (available at specialist garden centers or online seed suppliers). Coat your damp seeds in this black powder immediately before planting.
Planting Depth and Spacing
- Depth: Sow seeds 2–3 cm deep.
- Spacing: Space plants 15 cm apart. Soybeans do not vine like pole beans; they grow as bushy plants roughly 50–60 cm tall. Planting them relatively close together allows the plants to support each other against the wind.
- Rows: Space rows 40–50 cm apart to allow for airflow and weeding.
For a continuous harvest, consider succession planting. Sow a small batch every two weeks from late October to late December. This ensures you aren’t overwhelmed with hundreds of pods ripening all at once.
Ongoing Care and Maintenance
Once your seedlings emerge, the care routine is relatively straightforward, but consistency is key.
Watering
Water is most critical during two stages: germination and flowering/pod filling. If the plants experience drought stress while flowering, the blossoms will drop, resulting in empty or few pods. Aim to keep the soil consistently moist but not waterlogged. Mulching with straw or pea straw is highly recommended to retain moisture and suppress weeds.
Fertilization
If you have inoculated your seeds properly, you should not need to add nitrogen fertilizer. In fact, adding too much nitrogen can inhibit pod production and lead to excessive leafy growth. A light dressing of compost or blood and bone at planting time is usually sufficient. For more on the science of nitrogen fixation in legumes, you can refer to this Wikipedia entry on Rhizobia, which explains the biological process in detail.
Pest Management in NZ Gardens
Growing homegrown soy and edamame in NZ does come with pest challenges. The most significant threat is the Green Vegetable Bug (Nezara viridula), also known as the Shield Bug.
The Green Vegetable Bug
This pest is the nemesis of bean growers in New Zealand. They pierce the young pods and suck the sap from the developing beans, causing the beans to wither or become deformed and brown. They are most active in late summer, exactly when your edamame is ripening.
Control Methods:
- Inspection: Check the undersides of leaves regularly for rafts of eggs.
- Manual Removal: Pick off adult bugs and drop them into a bucket of soapy water. They emit a foul smell when squashed, so avoid crushing them with bare hands.
- Neem Oil: Regular sprays of Neem oil can deter the nymphs, though it is less effective on adults.
Birds and Slugs
During the seedling stage, pukeko and other birds may pull up the young sprouts. Netting your crop for the first three weeks is a wise precaution. Slugs and snails also love the tender young leaves, so apply bait or use traps until the plants are established.

Harvesting: The Critical Window
Knowing exactly when to harvest is the difference between gourmet edamame and tough beans. The window for perfect edamame is short—usually only 3 to 7 days.
Harvesting for Edamame
Watch the pods closely. You want to harvest when the beans inside are prominent and plump, filling the pod width-wise, but the pod is still bright green. If the pod starts turning yellow, the sugars are converting to starch, and the flavor will degrade.
To harvest, you can either pull the entire plant up (if you are doing a single harvest) or snap individual pods off the stem. If you pull the plant, cut the roots off and leave them in the soil. The nitrogen nodules on the roots will decompose and enrich the soil for your next crop, such as brassicas or leafy greens.
Harvesting for Dry Soy
If you miss the edamame window, or if you intend to save seed, leave the plants in the ground. Wait until the leaves turn yellow and fall off, and the pods turn brown and dry. The seeds should rattle inside the pod. Harvest the whole plant and hang it in a dry, airy place to cure before threshing.
Post-Harvest Handling and Kitchen Prep
Fresh edamame begins to lose its sweetness the moment it is picked. For the best flavor, cook them within hours of harvest.
Cooking
The classic preparation is boiling or steaming the pods whole. Boil in salted water for 4–5 minutes until tender. Drain, sprinkle with coarse sea salt, and serve. The beans are popped out of the pod directly into the mouth, discarding the fibrous shell.
Freezing
If you have a bumper crop, edamame freezes exceptionally well. However, you must blanch them first to stop enzymatic activity. Blanch the whole pods in boiling water for 3 minutes, then immediately plunge them into an ice bath to stop the cooking. Drain thoroughly and freeze in airtight bags.
For detailed nutritional information regarding soybeans and their protein content, reputable sources like Nutrition.gov provide excellent data on legume health benefits.
Recommended Varieties for NZ
- Fiskeby V: An heirloom variety that is exceptionally cold-tolerant and reliable, making it the best choice for South Island gardeners or those with short summers.
- Envy: A popular variety with a short growing season and excellent flavor for edamame.
- Black Jet: While the skin is black when mature, these are green at the edamame stage and are renowned for a rich, nutty flavor.
Growing homegrown soy and edamame in NZ is a rewarding journey that connects you to the cycle of the seasons. By selecting the right variety, inoculating your soil, and managing pests, you can enjoy this nutritious superfood right from your backyard.
People Also Ask
Can you grow edamame in NZ?
Yes, edamame grows very well in New Zealand. It is a warm-season crop best planted in late spring (October to December) once the risk of frost has passed and soil temperatures are above 15°C.
How long does edamame take to grow in NZ?
Edamame typically takes between 75 to 90 days from planting to harvest in New Zealand conditions. Dry soybeans require a longer season, typically 100 days or more.
Do soybeans need a trellis?
No, most soybean varieties grown for edamame are bush types that grow 50-60cm tall. They do not require trellising, though planting them in blocks helps them support each other against the wind.
Why are my edamame pods empty?
Empty pods usually result from heat stress or lack of water during the flowering stage. It can also be caused by poor pollination or nitrogen imbalance. Ensure consistent watering when the plant is blooming.
Is edamame the same as soy?
Yes, edamame and soy are the same plant (Glycine max). Edamame is simply the soybean harvested while the pod is still green and the bean is immature. Soybeans are harvested when the pod is dry and brown.
Do I need special soil bacteria for soybeans in NZ?
Yes, New Zealand soils do not naturally contain the specific Rhizobium bacteria soybeans need to fix nitrogen. It is highly recommended to coat seeds with a soybean inoculant before planting to ensure healthy growth.