The Ultimate Guide to DIY Soy Milk and Okara: Master the Art of Plant-Based Nutrition
Discover how to make soy milk from scratch and unlock the potential of okara, the nutritional powerhouse byproduct, to elevate your culinary repertoire and sustainability efforts.
Table of Contents

1. Introduction: The Renaissance of Homemade Soy Milk
In an era where processed foods and artificial additives dominate the grocery aisles, the return to traditional food preparation methods offers more than just nostalgia. Learning how to make soy milk at home is a transformative experience for the modern health-conscious consumer. Soy milk, or ‘doujiang’ in Chinese and ‘tonyu’ in Japanese, has been a staple of East Asian diets for over two millennia. Originating during the Han Dynasty, this plant-based beverage was initially valued for its protein content and versatility. Today, the DIY movement has reclaimed this ancient craft, emphasizing purity, cost-effectiveness, and the elimination of synthetic stabilizers like carrageenan or gums often found in commercial versions.
When you take control of the process, you aren’t just making a milk substitute; you are engaging in a culinary ritual that respects the integrity of the soybean. The process involves soaking, grinding, boiling, and straining, turning a humble legume into a creamy, nutritious liquid. But perhaps the most exciting aspect of making your own soy milk is the byproduct often overlooked: okara. This fibrous pulp remains after the milk is extracted and is a culinary goldmine in its own right, packed with fiber, protein, and minerals. In this comprehensive guide, we will explore every facet of this dual-yield process, ensuring you master both the liquid and the solid components of the soybean.
2. The Nutritional Profile: Why DIY is Better
The primary motivation for learning how to make soy milk is often nutritional clarity. Commercial soy milks are frequently fortified with synthetic vitamins, but they also contain significant amounts of added sugar, flavorings, and thickeners. When you make it at home, you are left with the raw power of the soybean. Soybeans are a complete protein source, meaning they contain all nine essential amino acids necessary for human health. This makes soy milk the only plant-based milk that is nutritionally comparable to cow’s milk in terms of protein density.
Phytoestrogens and Heart Health
Research has shown that the isoflavones in soy, such as genistein and daidzein, act as phytoestrogens which may help in regulating hormonal balance and reducing the risk of certain cancers. Furthermore, the FDA has recognized the heart-healthy benefits of soy protein, citing its ability to lower LDL cholesterol levels when part of a diet low in saturated fat. By controlling the heat and processing time at home, you can better preserve these sensitive phytonutrients which might be degraded by the ultra-high-temperature (UHT) processing used in commercial shelf-stable milks.
Bioavailability and Digestion
A common concern with soy is the presence of antinutrients like phytic acid and enzyme inhibitors. Homemade preparation allows for an extended soaking period—ideally 12 to 24 hours—which significantly reduces phytic acid levels. Additionally, thorough boiling of the soy milk for at least 20 minutes ensures that trypsin inhibitors are deactivated, making the protein much easier for the human digestive system to assimilate. This level of meticulousness is rarely achieved in mass-production facilities where speed is prioritized over digestive optimization.
3. Selecting the Perfect Soybean Varieties
The quality of your final product is inextricably linked to the quality of your raw materials. Not all soybeans are created equal. For the best results in both flavor and okara texture, you should prioritize specific characteristics during your purchase. Generally, yellow soybeans are the standard for milk production because of their high protein content and mild flavor profile. However, you might also encounter black soybeans, which produce a darker, nuttier milk that is highly prized in traditional Chinese medicine for its alleged kidney-supporting properties.
What to Look For:
- Organic Certification: Since soybeans are one of the most genetically modified crops globally, choosing certified organic beans ensures you are avoiding glyphosate residues and GMOs.
- Non-GMO Project Verified: If organic is unavailable, ensure the ‘Non-GMO’ label is present to maintain the natural integrity of the bean.
- Freshness: Look for beans that are uniform in color with no visible shriveling or dark spots. Beans that have been sitting in a bin for years will take longer to soak and may yield a bitter aftertaste.
- Size: Larger beans often indicate a higher starch and protein content, which translates to a creamier milk.
4. Essential Kitchen Equipment
While you don’t need a professional laboratory to make soy milk, having the right tools will make the process more efficient and the result more refined. The goal is to maximize extraction while minimizing the mess. Many people start with what they have, but as you become a regular maker, investing in a few specialized items will change the game.
The Grinding Phase
A high-speed blender is your best friend here. Brands like Vitamix or Blendtec are capable of breaking down the soybean cell walls so finely that you extract every bit of creaminess. If you use a standard blender, you may need to blend for a longer duration to ensure the okara isn’t too chunky, which would lead to a lower yield of milk.
The Straining Phase
Traditional cheesecloth is often too loose for soy milk, allowing fine particles to pass through and creating a chalky texture. A fine-mesh nut milk bag made of nylon or hemp is the gold standard. It allows you to squeeze the pulp with significant force to extract every last drop of liquid without the bag tearing or the sediment escaping.

5. Step-by-Step: How to Make Soy Milk
Follow this master method for a silky, rich soy milk that rivals any boutique brand. This method focuses on the ‘raw-grind’ technique, which is favored for its clean flavor and superior okara quality.
Step 1: The Deep Soak
Measure one cup of dry soybeans. Rinse them thoroughly under cold water to remove dust and debris. Place them in a large glass bowl and cover with three cups of filtered water. Allow them to soak for at least 8 hours at room temperature, or up to 24 hours in the refrigerator. The beans should double in size and lose their round shape, becoming more elongated and bean-like.
Step 2: The Hot Peel (Optional)
For the mildest flavor, some enthusiasts recommend rubbing the soaked beans between your hands to remove the translucent skins. The skins contain some of the compounds responsible for the ‘beany’ flavor. While time-consuming, it results in a whiter, more delicate milk. Most people skip this for daily use, but it’s a great tip for special batches.
Step 3: Blending for Extraction
Drain the soaking water and rinse the beans once more. Place the beans in your blender with 4 to 5 cups of fresh filtered water (depending on how thick you like your milk). Blend on high for 2 minutes until the mixture looks like a frothy, white smoothie. There should be no visible large chunks of bean left.
Step 4: The First Strain
Pour the blended mixture through your nut milk bag into a large, heavy-bottomed pot. Squeeze the bag firmly. What remains in the bag is your okara. Set this aside in a container for later use. What is in the pot is your raw soy milk.
Step 5: The Crucial Boil
Raw soy milk is indigestible and slightly toxic. You must cook it. Bring the pot to a boil over medium heat, stirring constantly to prevent the bottom from scorching. Be careful: soy milk foams up rapidly and can boil over in seconds. Once it reaches a boil, reduce the heat to low and simmer for 20 to 25 minutes. This long simmer improves flavor and ensures digestibility.

6. The Hidden Treasure: Understanding Okara
In most commercial operations, okara is treated as a waste product, often sold as animal feed or discarded. This is a tragedy of modern food production. Okara consists of the insoluble parts of the soybean that remain after the pureed beans are filtered. It is incredibly high in dietary fiber (both soluble and insoluble) and contains a surprising amount of protein and calcium. Its neutral, slightly nutty flavor and crumbly texture make it an incredibly versatile culinary ingredient.
Culinary Applications of Okara
Because okara is moist but crumbly, it acts as an excellent filler and moisture-retainer in recipes. You can use it in both sweet and savory applications. In Japan, okara is traditionally sautéed with vegetables and soy sauce in a dish called ‘Unohana’. In Western kitchens, it has become a favorite for vegan baking.
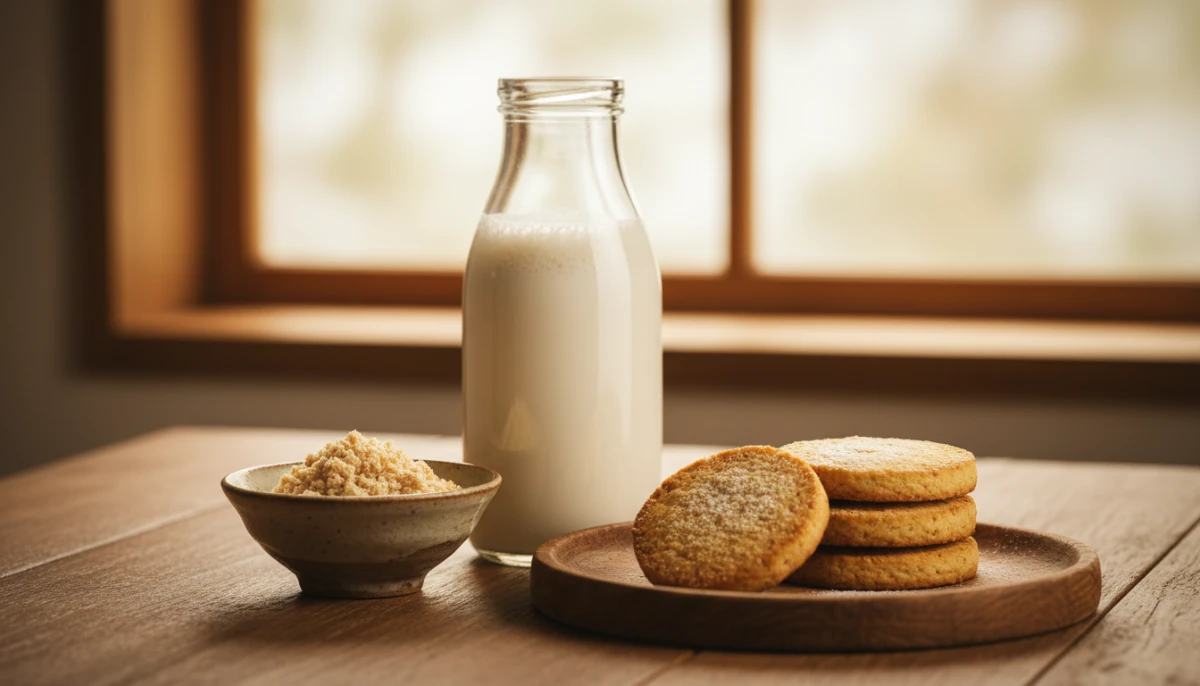
- Okara Power Cookies: Substitute up to 30% of the flour in your favorite cookie recipe with fresh okara. It adds a soft, cake-like texture and a massive fiber boost.
- Vegan ‘Crab’ Cakes: Season okara with Old Bay, kelp granules, and lemon juice. Form into patties with a little flour or flax egg as a binder, and pan-fry until golden. The texture is remarkably similar to seafood.
- Okara Granola: Crumble okara onto a baking sheet and toast it at a low temperature until dry and golden before adding it to your oats and nuts. It adds a unique crunch.
- Composting: If you truly cannot use it, okara is nitrogen-rich and makes an exceptional addition to your compost bin, accelerating the breakdown of organic matter.
7. Troubleshooting & Flavor Perfection
Even with the best intentions, your first few batches of soy milk might not be perfect. The two most common complaints are a ‘beany’ or ‘grassy’ flavor and the milk curdling when added to coffee. Both of these issues are easily solvable with a little bit of science.
Eliminating the Beany Taste
The beany flavor is caused by the enzyme lipoxygenase. This enzyme is activated when the bean is cracked in the presence of water and oxygen. To neutralize it, some people use the ‘Hot Soak’ method: instead of soaking in cold water, drop the dry beans into boiling water and soak them there. This heat deactivates the enzyme before it can create that grassy flavor. Additionally, adding a tiny pinch of salt and a sweetener like dates or maple syrup during the blending phase can balance the natural earthiness of the beans.
Preventing Curdling in Coffee
Soy milk curdles in coffee because of the acidity and high temperature of the coffee. To prevent this, never pour cold soy milk into boiling hot coffee. Instead, warm the soy milk slightly and add the coffee to the milk gradually. This tempers the proteins and prevents the sudden ‘shock’ that leads to separation. Using a ‘Barista’ style technique by adding a tiny pinch of baking soda to the milk can also help neutralize the coffee’s acidity.
8. Frequently Asked Questions
How long does homemade soy milk last?
Since it lacks preservatives, homemade soy milk lasts about 4 to 5 days in the refrigerator. Store it in a sterilized glass bottle and keep it in the coldest part of the fridge (not the door).
Can I freeze okara?
Yes! Okara freezes beautifully. Since a single batch of milk produces a lot of okara, it is best to freeze it in 1-cup portions in freezer bags. It will stay fresh for up to 3 months.
Is it cheaper to make your own soy milk?
Significantly. A 1lb bag of organic soybeans usually costs around $3-$4 and can produce 4 to 5 gallons of soy milk. Compared to the $4-$5 per half-gallon for premium store-bought brands, the savings are over 80%.
Why did my soy milk turn out thin?
This is usually due to using too much water during the blending phase or not blending the beans long enough. Aim for a 1:4 ratio of dry beans to water for a standard consistency, or 1:3 for a ‘Barista’ thick version.