Fermentation is more than just a method of preservation; it is a culinary alchemy that transforms humble ingredients into nutritional powerhouses. In New Zealand, the interest in plant-based diets and gut health has sparked a resurgence in traditional food preparation. While store-bought options are available in supermarkets from Auckland to Dunedin, nothing rivals the flavor, texture, and satisfaction of creating your own advanced soy products.
This comprehensive guide focuses on mastering the fungal fermentations of soybeans: the rapid, mycelium-binding process of Tempeh and the slow, enzymatic breakdown of Miso. Whether you are a seasoned fermenter or a curious beginner, this guide provides the technical precision required for success in the New Zealand climate.
The Renaissance of Fermented Soy in New Zealand
New Zealand’s culinary landscape has evolved significantly. We have moved beyond simple tofu blocks into the complex world of bioactive foods. The search volume for “homemade tempeh recipe NZ” indicates a growing desire to disconnect from industrial food systems and reconnect with the biological processes of eating.
Making tempeh and miso at home allows you to control the substrate (the beans), the environment, and, crucially, the waste. Commercial packaging often involves excessive plastic, whereas home fermentation can be a zero-waste endeavor. Furthermore, the freshness of home-incubated tempeh offers a nutty, mushroom-like aroma that vacuum-sealed commercial packets simply cannot replicate.
Cultural Significance: Tempeh vs. Miso
Before diving into the methodology, it is essential to respect the lineage of these foods. They may both start with the soybean, but they diverge rapidly in terms of biology and geography.
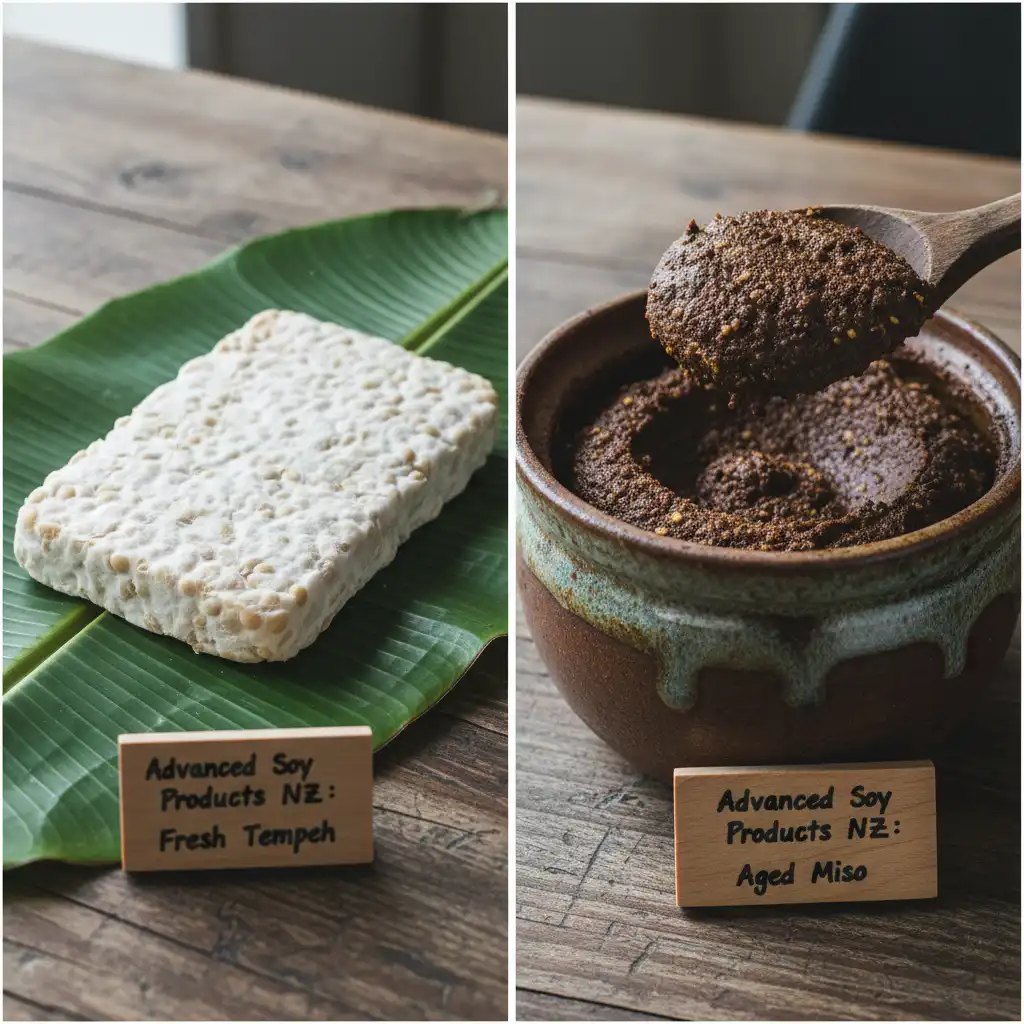
Tempeh: The Indonesian Staple
Originating from Java, Indonesia, tempeh is unique among major soy foods because it uses the whole bean. It is fermented with the mold Rhizopus oligosporus. This fungus grows a dense white mycelium that binds the beans into a solid cake. Historically, it was a vital source of protein in Javanese diets and remains a staple today. The fermentation process increases the bioavailability of protein and reduces anti-nutrients like phytic acid.
Miso: The Japanese Art
Miso is a paste produced by fermenting soybeans with salt and koji (a fungus known as Aspergillus oryzae) and sometimes rice, barley, or other grains. Unlike the 24-48 hour rapid fermentation of tempeh, miso is an exercise in patience, often aging for six months to several years. The result is a complex, umami-rich condiment that forms the backbone of Japanese cuisine.
Sourcing Ingredients and Equipment in NZ
Success begins with high-quality inputs. In New Zealand, sourcing these specific items requires knowing where to look.
- Soybeans: Look for whole, dry yellow soybeans. Non-GMO and organic options are preferable. Bulk food stores like Bin Inn or specialized Asian grocers are your best bet in NZ. Ensure the beans are not old; fresher beans hydrate better.
- Vinegar: Standard white vinegar or apple cider vinegar is required to lower the pH of the beans, preventing the growth of spoilage bacteria like Bacillus subtilis.
- Tempeh Starter (Ragi Tempeh): You cannot make tempeh without spores. In NZ, you can purchase Rhizopus oligosporus spores online from specialty fermentation shops or health food stores. Do not attempt to use commercial tempeh to start a new batch, as the culture is often inactive or contaminated.
- Koji (for Miso): You can buy pre-made Koji rice (rice inoculated with Aspergillus oryzae) or buy the spores to make your own Koji. For beginners, buying dried Koji rice is recommended.
- Incubation Gear: A thermometer is non-negotiable. You will also need perforated plastic bags or traditional banana leaves (if available) and a heat source.
The Science of Rhizopus: Understanding the Culture
To master the “homemade tempeh recipe NZ” standard, one must think like a fungus. Rhizopus oligosporus is an aerobic mold. This means it requires oxygen to survive. However, it also requires high humidity and a specific temperature range (30°C–32°C).
Expert Insight: The most common failure in tempeh making is suffocation. If you pack the beans too tightly or do not provide enough air holes, the mold will die, and anaerobic bacteria will take over, leading to a foul, ammonia-like smell. Conversely, too much air will dry out the beans before the mycelium can knit them together.
The Definitive Homemade Tempeh Recipe NZ
This recipe yields approximately 1kg of finished tempeh.
Ingredients
- 600g Dry Whole Soybeans
- 5 Tablespoons White Vinegar
- 1 Teaspoon Tempeh Starter (Rhizopus oligosporus)
Step-by-Step Procedure
1. Soaking and Dehulling
Soak the beans in ample water for 12–24 hours. As they soak, the hulls will loosen. This is the most labor-intensive step: you must remove the hulls. Squeeze the beans with your hands to split them and release the skins. The hulls act as a barrier to the mycelium; removing them allows the fungus to penetrate the bean directly. Skim the floating hulls off the water. It doesn’t have to be 100% perfect, but aim for 90% dehulled.
2. Acidification and Cooking
Drain the soaked beans and place them in a pot with fresh water. Add the vinegar. The goal is to lower the pH. Boil the beans for 45–60 minutes. They should be tender but not mushy. The vinegar taste will disappear during fermentation.
3. The Critical Drying Phase
Drain the water. Return the beans to the pot or spread them on a clean towel. You must remove excess surface moisture.
Why? Bacteria love wet environments; mold prefers slightly damp ones. If the beans are shiny and wet, your tempeh will spoil. Stir them over low heat or towel dry them until they are matte and dry to the touch, but still hydrated inside.
4. Inoculation
Allow the beans to cool to body temperature (about 35°C). If they are too hot, you will kill the starter. Sprinkle the starter powder over the beans and mix thoroughly for at least one minute to ensure even distribution.
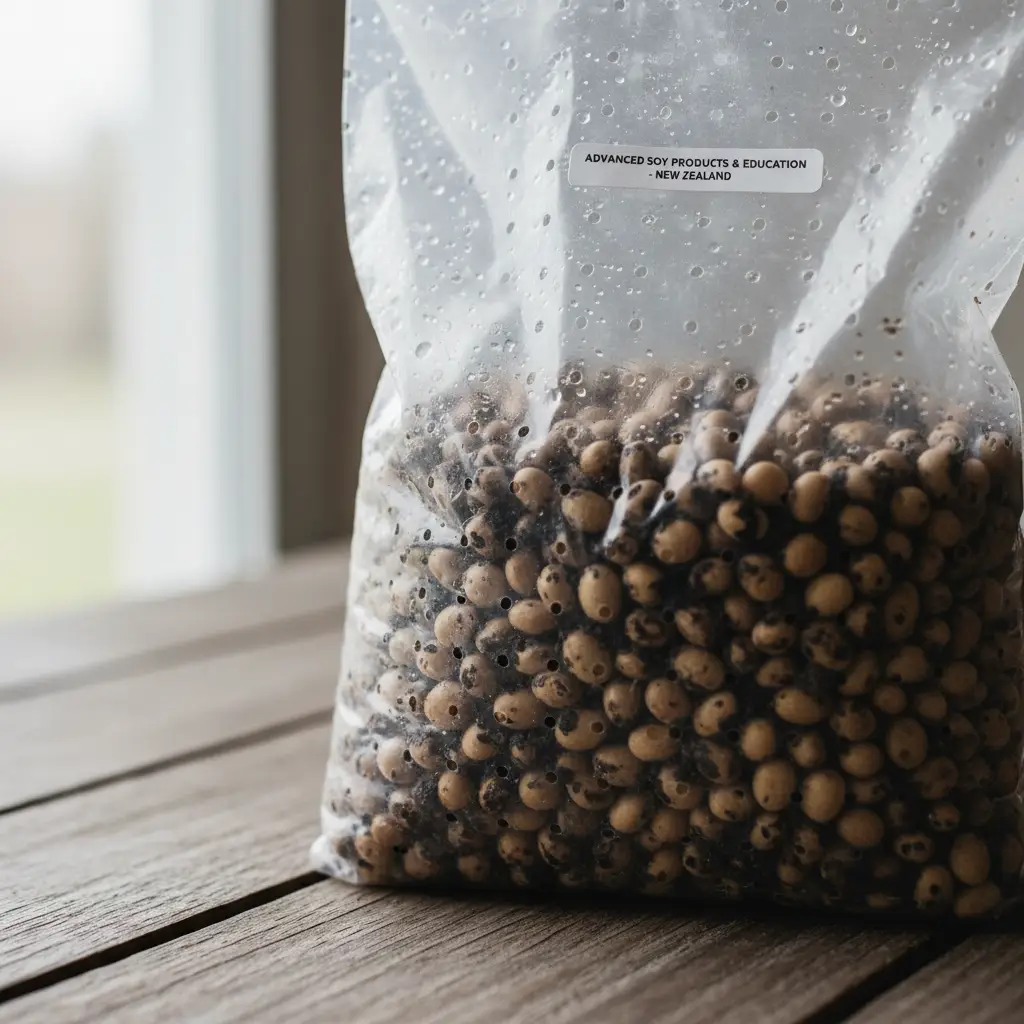
5. Bagging
Place the beans into zip-lock bags. Flatten them until they are about 2-3cm thick. Using a thick needle or a skewer, poke holes every 2cm across the entire surface of the bag (both sides). This provides the necessary oxygen.
Building a DIY Incubation Chamber for Kiwi Homes
New Zealand homes can be drafty or cold, especially in winter. Maintaining a steady 30°C-31°C is crucial for the first 12-20 hours.
- The Hot Water Cupboard: The classic Kiwi solution. Check the temperature on a shelf near your cylinder. If it stays around 28-30°C, it is perfect.
- The Oven Light Method: Place the tempeh in a turned-off oven with just the light on. Monitor the temp; if it gets too hot, prop the door open slightly with a wooden spoon.
- Seedling Mat and Cooler Box: For the advanced enthusiast, place a reptile heating mat or seedling mat inside a chilly bin (cooler). Hook it up to a thermostat controller set to 31°C.
The Process: Incubate for 24–48 hours. After about 12-16 hours, the beans will start generating their own heat (metabolic heat). At this point, you may need to reduce the external heat source to prevent overheating (temps above 36°C can kill the fungus). The tempeh is done when it is a firm, white block that holds together when lifted.
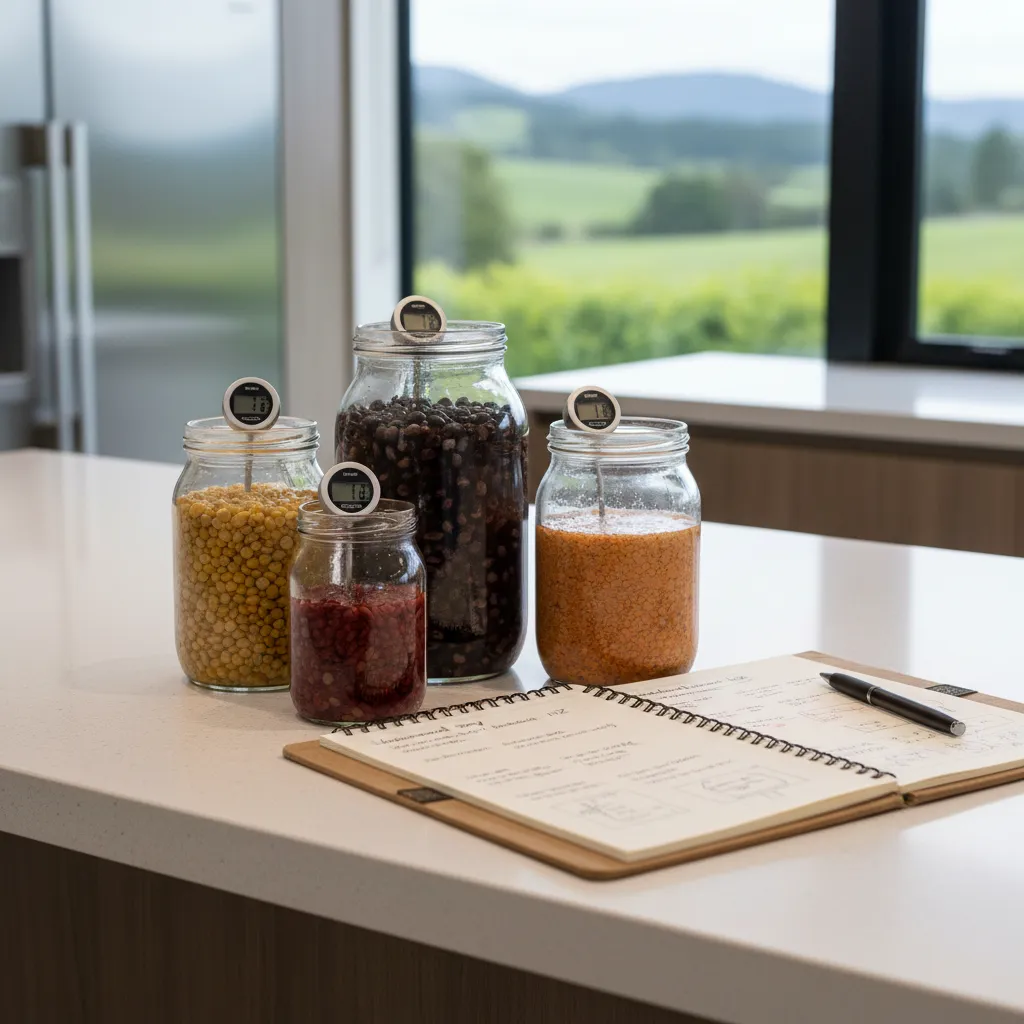
Long-Term Fermentation: The Art of Miso
While tempeh is a sprint, miso is a marathon. Miso involves a two-stage fermentation: first, growing mold on grains (Koji), and second, fermenting beans with that Koji and salt.
Basic Sweet Miso Ratio
For a lighter, sweeter miso (Shiro Miso style) suited for NZ palates:
- Soybeans (Dry weight): 500g
- Rice Koji (Dry): 500g
- Sea Salt (Non-iodized): 250g (approx 12-13% of total weight)
Method Summary
- Soak and Boil: Soak soybeans overnight, then boil until very soft (easily crushed between fingers).
- Mash: Drain beans (save the cooking liquid!). Mash the warm beans into a paste.
- Mix: Combine the Koji and Salt in a bowl. Once the bean mash is below 40°C, mix it with the salted Koji. Add small amounts of bean cooking liquid if the mixture is too dry; it should feel like playdough.
- Pack: Throw balls of the mixture into a sterilized jar or crock to remove air pockets. Salt the top surface heavily to prevent bad molds. Weight it down.
- Wait: Ferment at room temperature (away from direct sun) for 3 to 6 months.
Troubleshooting and Safety
Fermentation is safe if hygiene is maintained, but indicators of spoilage must be recognized.
Tempeh Troubleshooting
- Black Spots: These are usually just the mold sporulating (going to seed). It is safe to eat but indicates the fermentation went a bit too long.
- Pink or Slimy Patches: This indicates bacterial contamination. Discard immediately. Do not eat.
- Ammonia Smell: Slight ammonia smell is normal at the very end, but a strong, eye-watering ammonia stench means the proteins are rotting. Discard.
Miso Troubleshooting
- Surface Mold: It is common for white, green, or black mold to grow on the very top layer or the weights. Scrape this layer off carefully; the miso underneath is usually fine due to the high salinity.
Pros and Cons of DIY Fermentation
Is making your own tempeh and miso worth the effort? Here is a breakdown.
| Feature | DIY (Homemade) | Store-Bought |
|---|---|---|
| Cost | Very Low (approx $3-$5 per kg) | High ($15-$25 per kg) |
| Taste | Fresh, complex, nutty, superior texture | Often bitter, pasteurized, firm |
| Waste | Zero-waste potential (reusable containers) | Single-use plastic packaging |
| Effort | High (dehulling, monitoring temp) | Zero (immediate availability) |
| Equipment | Requires incubator setup and starter | None required |
Frequently Asked Questions
Can I make tempeh without a plastic bag?
Yes, traditionally tempeh is wrapped in banana leaves or teak leaves. In New Zealand, you can use glass dishes (covered with perforated foil) or reusable silicone bags, provided there is adequate airflow. However, perforated plastic bags are the most consistent method for beginners.
Why is my tempeh not turning white?
This is usually due to temperature or moisture. If it is too cold (under 25°C), the mold grows too slowly. If the beans were too wet, bacteria may have outcompeted the mold. Ensure your incubator is consistent at 30°C.
Is it safe to eat raw homemade tempeh?
While the fermentation process makes the beans safer, it is generally recommended to cook tempeh before eating (frying, baking, or steaming). This stops the fungal growth and ensures any stray bacteria are eliminated. It also improves the flavor.
Where can I buy Rhizopus oligosporus in NZ?
You can find tempeh starter online at specialized stores like “Cultures for Health” (often shipped) or local NZ fermentation suppliers like “Country Trading Co.” or specialized eco-stores.
Can I use other beans besides soy?
Absolutely. You can make “tempeh” using chickpeas, black beans, lentils, or even peanuts. The process is identical, though cooking times for the legumes will vary. Chickpea tempeh is a popular soy-free alternative.
How long does homemade miso last?
Miso is a preservative. Once fermented, it can last indefinitely in the fridge. In fact, the flavor often improves and deepens over time. Just ensure you use clean utensils when scooping it out.